As I mentioned in
my last post, I have a couple projects mulling around in my mind, just waiting on me to get around to finally doing them. Well, I'm happy to say I finally tackled one of them. Since they both involved furniture painting, I decided to start with the little hexagon-shaped end table before attempting the larger buffet.
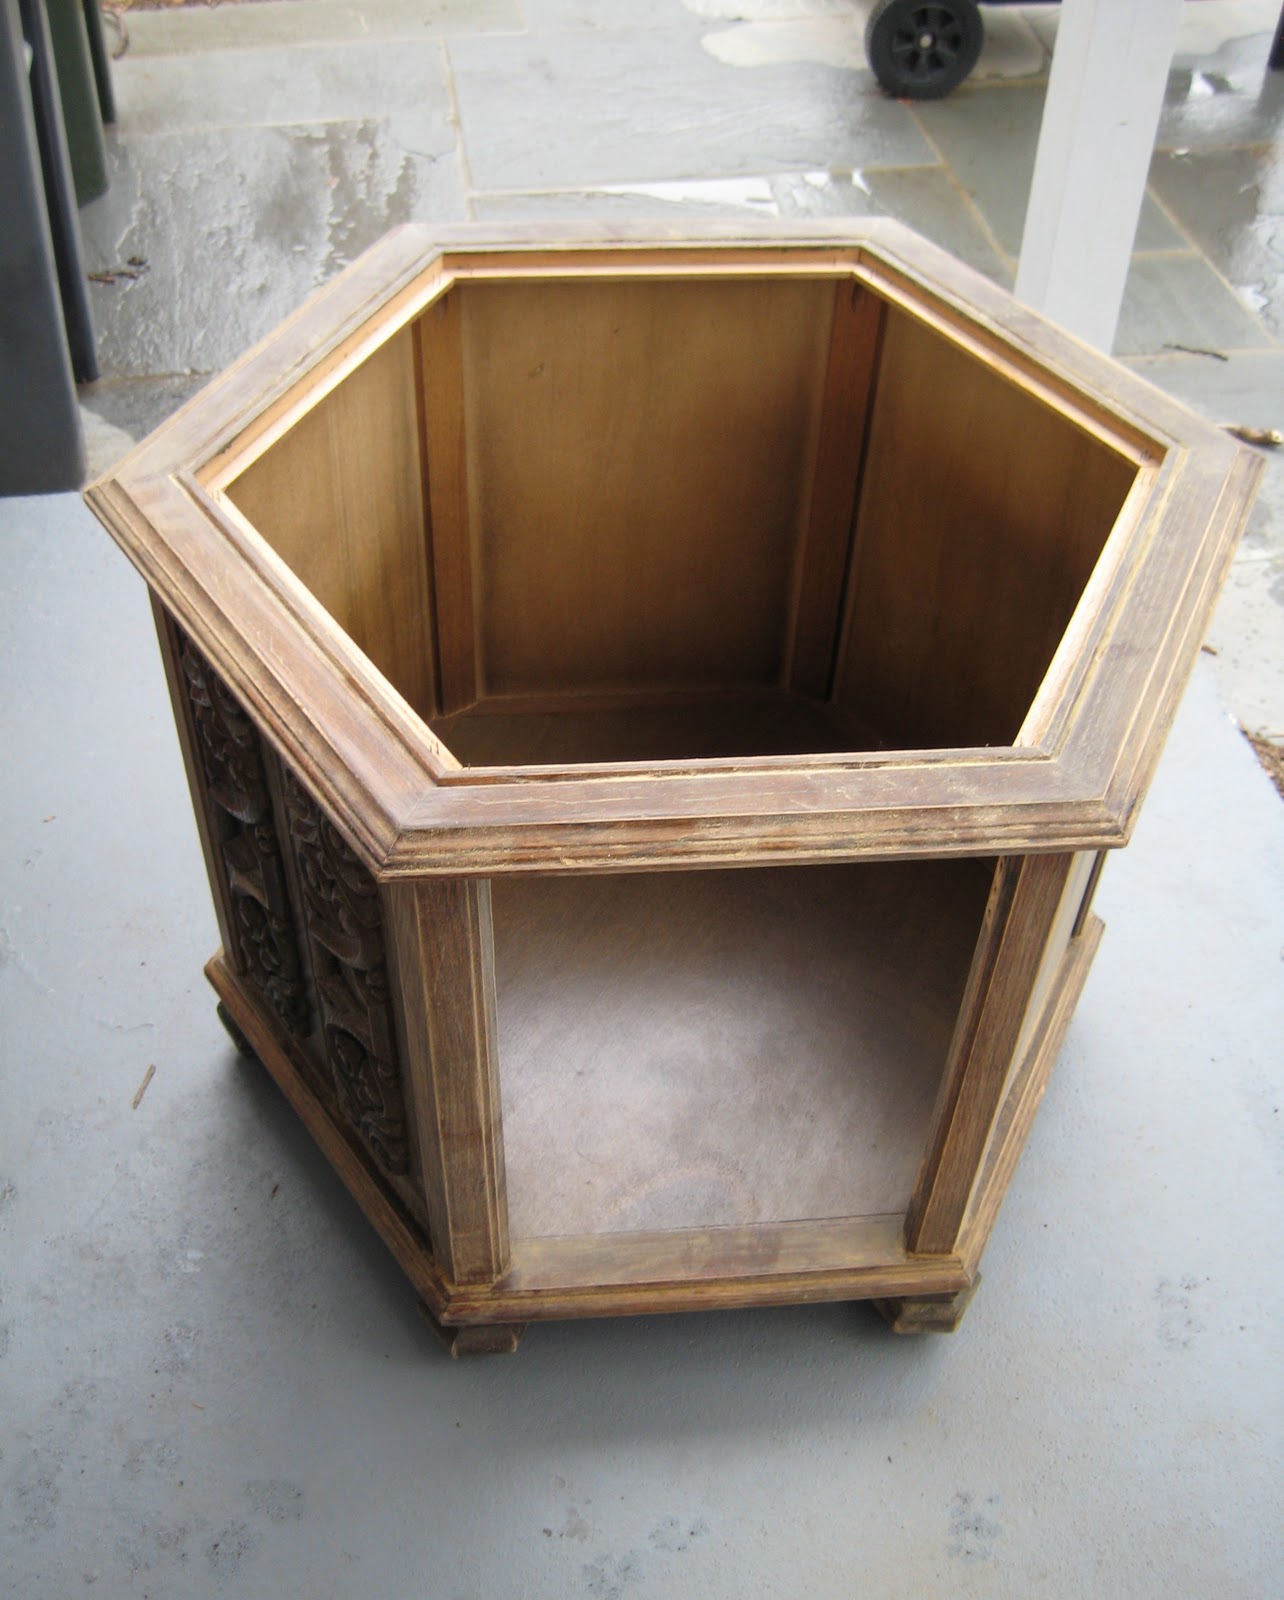
 |
| The table, in case you forgot about it. |
I had originally envisioned the table in white or off-white and maybe adding a subtle accent color, along with a neutral decoupaged top. All those plans flew right out the window, though, when John and I visited
Paper Source a couple Friday nights ago during a trip to Old Town. John encouraged me to go with something more bold and fun, and with the plethora of beautiful papers in stock, I couldn't resist. After careful consideration, we chose this pattern. The blue background works well with the blues in our
curtains, rug, and kitchen, while the little mustard yellow flowers and gold accents add a pop of flare.
Now the question remained of what color(s) to paint the table itself. Again feeling bold, we decided to play off the mustard flowers and go with yellow. Our living room is so blah right now and after painting the basement orange, we're really enjoying more vibrant colors. Unfortunately, the pattern is so small and scattered, we couldn't do an exact color match, but we did find a nice
Behr choice... Solar Fusion! How bold and exciting! And fusion? Perfect for my physicist husband.
We also picked up a gallon of
Glidden's Grey Gripper Primer since we were using a lighter color than the current stain of the table. Plus, the buffet is going a deep charcoal color and this primer will help keep that bold and covered.
Finally armed with my arsenal of supplies, I started by
Mod Podging the paper to the top insert. You can't tell in the photos, but the top had some sort of faux textured finish. We wanted a nice, flat surface, so luckily John was able to pop the top off and flip it over to expose a perfectly non-faux surface, just waiting to be Podged. I gave the top and edges a quick sanding to remove some bits of adhesive and it was ready to go. After watching
this tutorial video, I traced out the top and cut it down using my handy paper cutter to get straight edges. The paper was a smidge too small, but I was able to add a small strip for a patch along one side... which was extremely frustrating, so let's not discuss that.
 |
| Topless table. ooh la la! |
If anyone feels compelled to watch the video and do some Mod Podging of their own, I definitely recommend using a
brayer. When I first layed out my paper, it was full of small creases and bubbles, but just a few rolls with the brayer took care of it and it was perfectly flat.
 |
| A brayer. |
The next step was to apply the primer to the table. I first took the topless table outside and roughed it up a bit with some 200-grit sandpaper to help the primer stick and get rid of any rough bits.
I used my
Shur-Lines again and it was all easy going except around the carving detail on one panel, which took a little more effort to get into all the nooks and crannies. Probably should have used a smaller craft brush, but oh well. I got the job done and ended up with this nice blue-gray table. The color actually isn't half bad...
Once the primer had dried, I started off with a coat of Solar Fusion. We went with a semi-gloss finish, which I'm sure will look great, but I really don't like the consistency or lack of spreadability. After one coat, I was left with this... which doesn't look anything like the paint chip above. It's definitely much more suiting of the "Fusion" name and kinda looks a little radioactive at this point.
I let this dry for a couple of days (read: overnight, but then it was Tuesday after the three-day President's Day weekend and someone didn't feel like painting after work...) and went back to do coats two through five and the feet. That's right... it took five coats of paint to really cover everything. Much more than I expected and thank goodness it's a small table. After the last coat was dry, it was time to pop the top back in and observe the glorious results.
 |
| Elliot is such a camera hog. |
 |
| The top. |
To finally put this project to rest, I'll need to come up with a little cushion for the boys. I haven't really been fabric shopping since my mom used to make my Halloween costumes, so hopefully I can find something cute. Maybe a really thin stripe or gingham? I'm still holding onto the panel we removed in case they show no interest and we want to pop it back on one day.
So, that's that. I'd call my first adventure in furniture painting a success. We'll see how I feel after tackling the buffet...


No comments:
Post a Comment