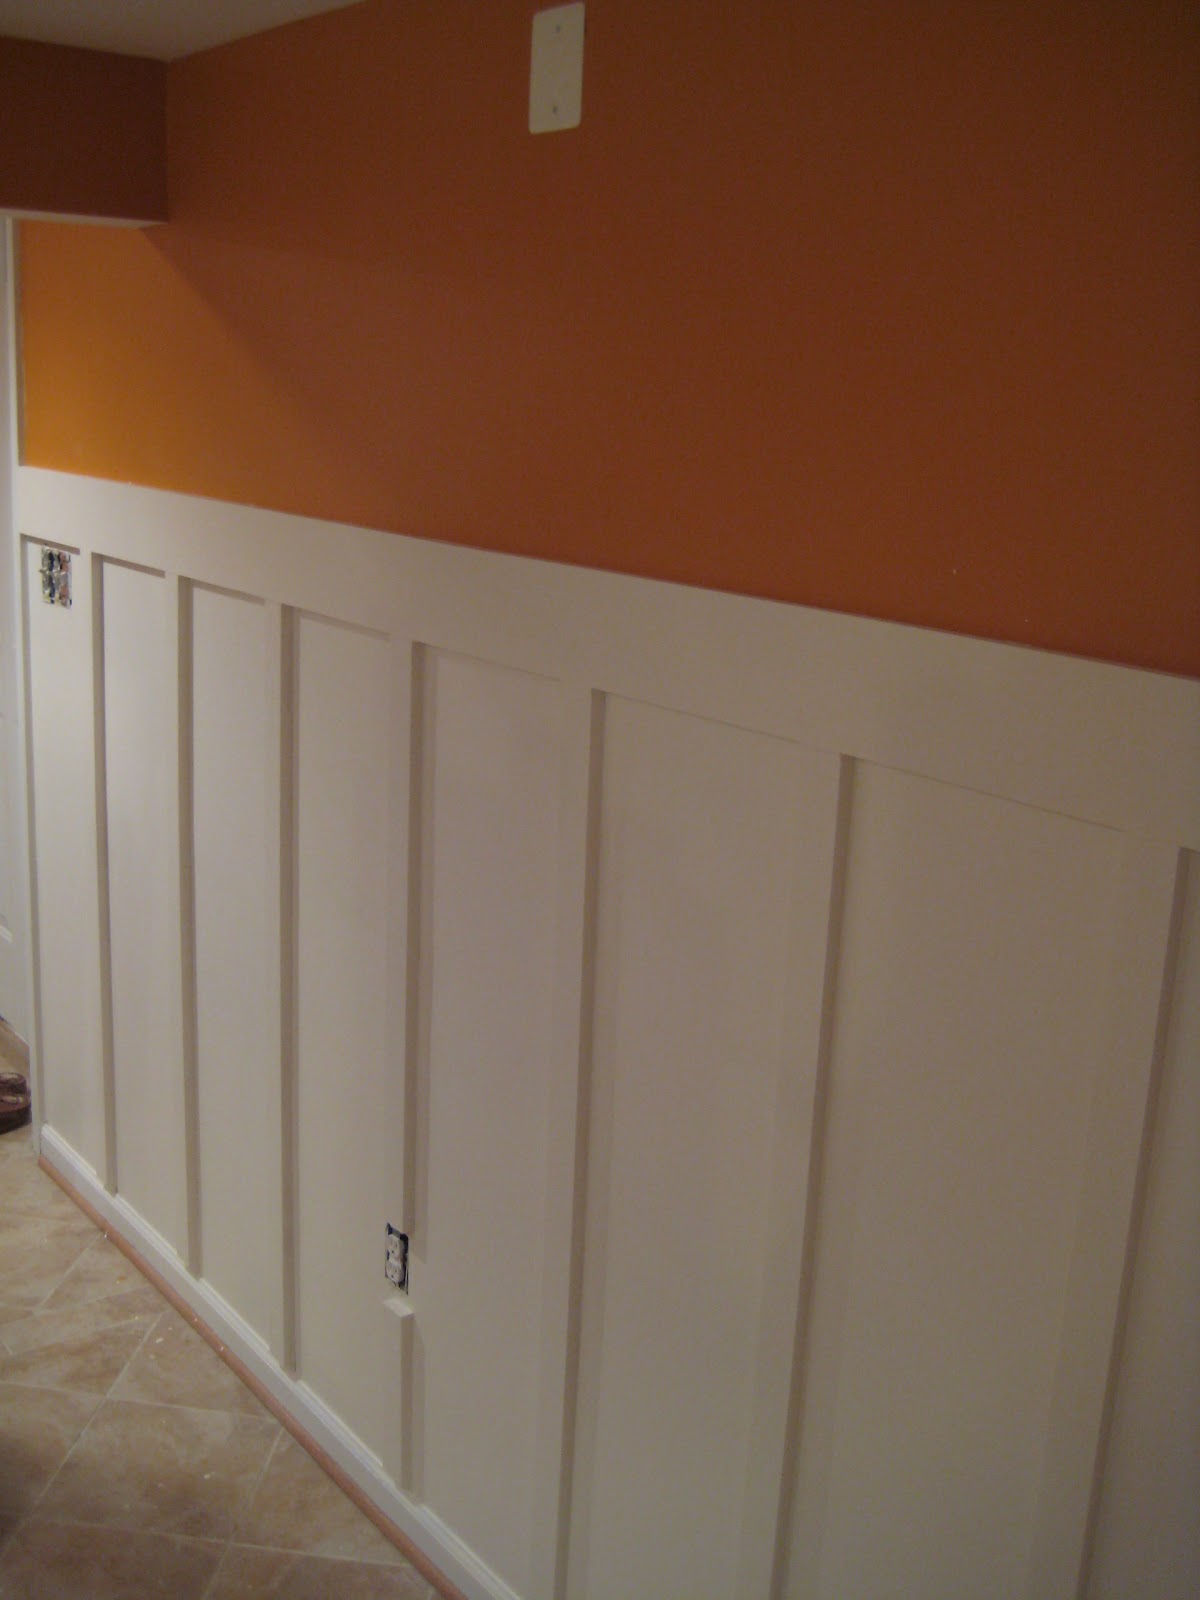
For the whole shebang underneath the orange accent color, we chose a warm white to brighten up our space even more and tone down the intensity of the Flaming Torch. The color we chose to go with, Behr's Bleached Linen, is just perfect. It has only a bit of creamyness to it, kind of like a French Vanilla coffee creamer. Probably something no one would ever notice as not 100% white, but we wanted just a touch of warmth since our basement sure could use it. With two gallons of the paint in hand, we set off painting... me with my trusty cutting-in brushes and John with his roller.
 |
| Creamy! nom nom nom |
 |
| Pollock's Number 1... the National Gallery of Art says it "legitimized the convergence and mastery of chance, intuition and control." I don't get it. |
 |
| Millions of board sides to paint... OK, maybe not millions... |
The next night, we tried again, this time I had a tiny foam edging roller and John had a smoother-napped roller. This angle worked much better as the foam roller deposited more paint than my brushes and the smooth-napped roller left John with a cleaner result. Plus, his roller completely covered the end, so there was no horrible plastic bit scraping off paint... which let him cut in closer and help cover the boards I was so desperately trying to paint. Win-win for all!
 |
| The handy dandy foam roller. |
 |
| The roller cover... although, John said it had a tendency to slide across the wall instead of rolling...hmm. |
Even with our better system and equipment, painting still took forever. Luckily, we also picked up two pairs of knee pads at Home Depot, which made scooting around on the cold, hard tile floor way more comfortable. We hope they'll also come in handy in spring and summer when we head outside to tackle some landscaping projects. Or when we just feel like a round of basement roller derby.

We finally finished it all last Friday night and I'm so glad to be hanging up my paintbrushes for now. I think the whole thing turned out pretty well for our first big project. The boards do gap in some areas, so we're planning on going through and filling those with some sort of caulk to make it look all flush and lovely. Now we just need some art on the walls and a couple rugs on the floor, and we'll be good to go!


Lessons learned from our basement makeover...
1) The right tools make all the difference. Blue painter's tape is just wretched and unreliable. Frog Tape for the win! Shur-Line might have some stupid products, but their Teflon paint brushes are great. Not all rollers are created equal and it's important to know which one is right for your surface.
2) MDF might be inexpensive, but it definitely has its faults. It makes a wicked fine dust that makes a horrible mess and I'd recommend both safety glasses and a mask when making cuts. It's also very porous on the cut surfaces, so I think taking the extra time to prime it would be worth it.
3) If we ever do a board and batten or any sort of similar wainscoting type project, I would definitely paint the entire wall behind it and maybe the trim itself before installation. I'm sure it's twelve of one, a dozen of the other, but it sure seemed like a pain the way we did it.
4) We should buy Home Depot stock.
Wow, that looks fantastic!!! Great work you two!!!
ReplyDeleteThanks! I wish we were better photographers and could get some better shots... but now comes the fun part of more decorating and less manual labor. :)
ReplyDelete